If you're looking for a scrap busting, stash friendly, and therefore eco-conscious project, that you can do in an hour then look no further!
What I love about this quilted notebook cover is that it uses up both bigger and smaller scraps and even those extra bits of binding that you kept for a someday project. As it's a small make you can really have fun with colour and pattern on this project both with your fabrics and your thread.
Fabric Requirements:
The amount of fabric you will need will obviously depend on the size of your notebook, or plain old book but most small to medium sized notebooks will only only need a couple of Fat Quarters for the whole cover.
Fabric A: outer cover. You could even make a patchwork panel if you want to do a deep dive into your scrap bag.
Batting: cut this a little larger than Fabric A
Fabric B: inner cover, cut this a little larger than your batting
Fabric C: front and back pockets. You will need four fabric squares measuring half the width of the front cover of your notebook. A little smaller is okay too but don't go larger.
Binding: 2.5'' x the circumference of Fabric A plus extra for joining

To work out exactly how much fabric you need first measure the height and then the width of your notebook when it is open (so that includes both the back and front as well as the width of the spine). Add a half inch to this measurement for Fabric A.
My notebook measured 9'' x 15'' so my fabric requirements were:
Fabric A: 9.5'' x 15.5''
Batting: 10'' x 8''
Fabric B: 10.5 x 8.5''
Fabric C: (4) 4.5'' x 4.5''
Binding: I used some excess binding I had from another project (I knew there was a reason I kept it!) but if I needed to cut new binding I would have cut 2.5'' x 42'' (9.5'' + 9.5'' + 7.5'' + 7.5'' plus extra)
Making your notebook cover
Baste your cover fabrics together with fabric A as your top fabric. Now quilt as desired! As a small project it's a great way to experiment with quilting techniques and thread choice.

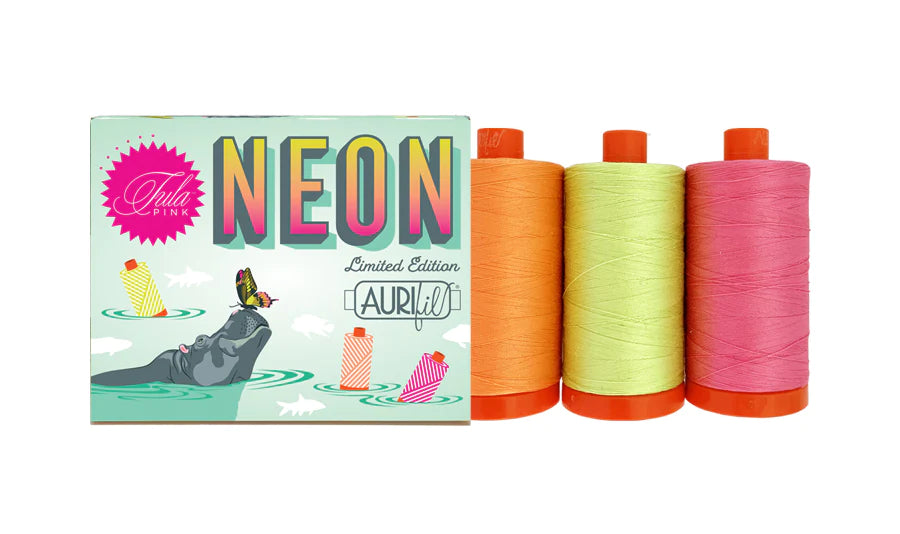
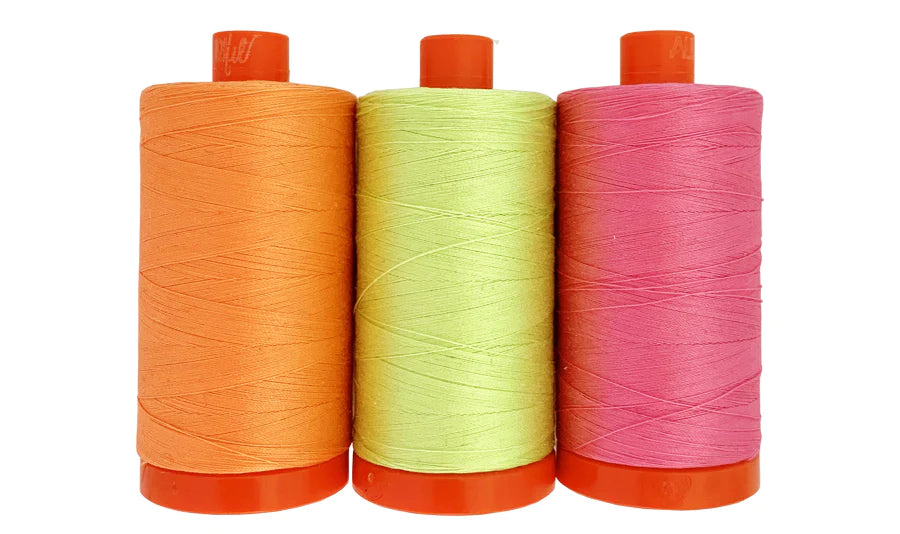
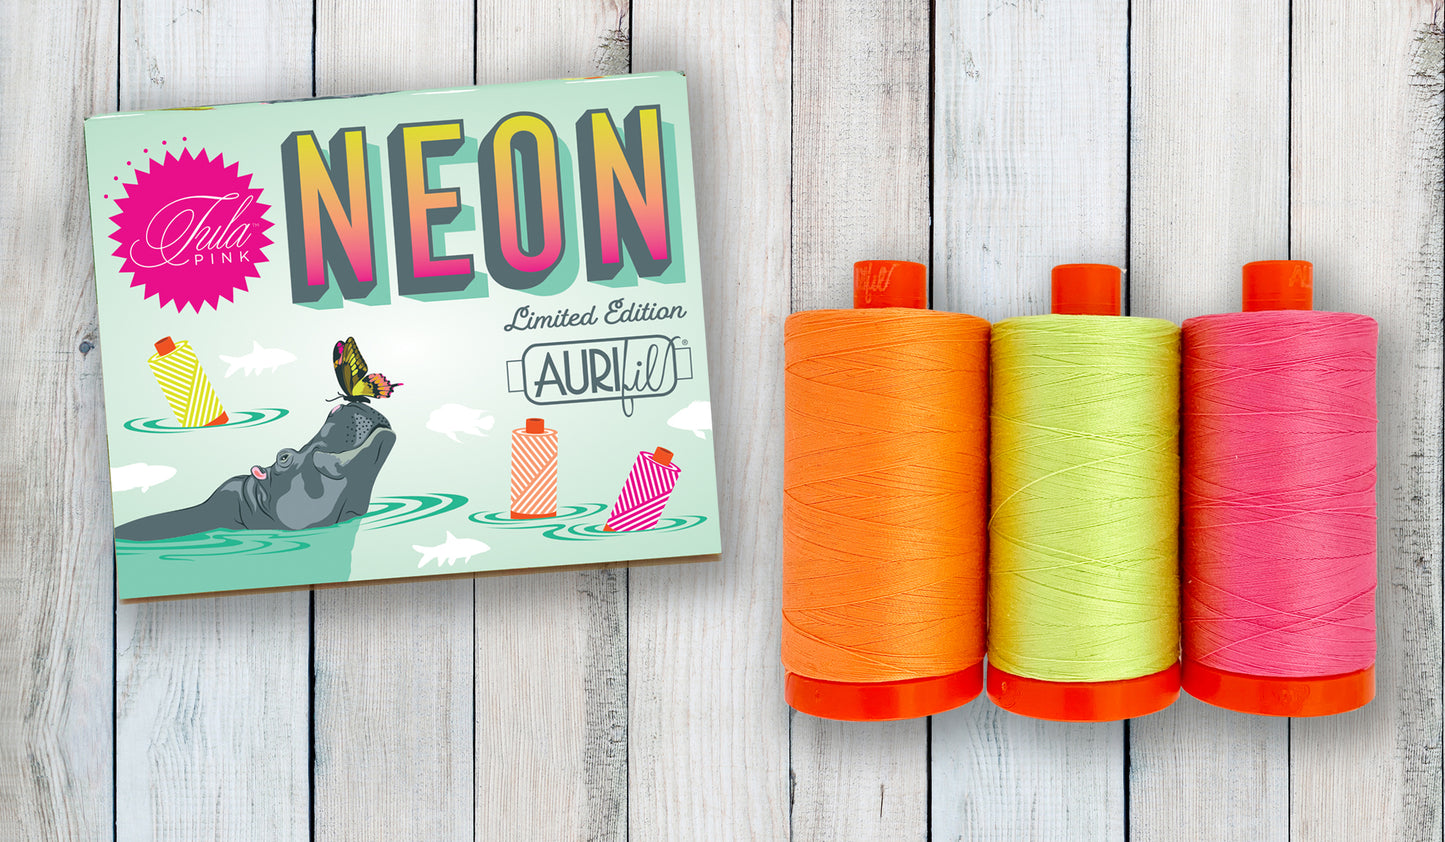
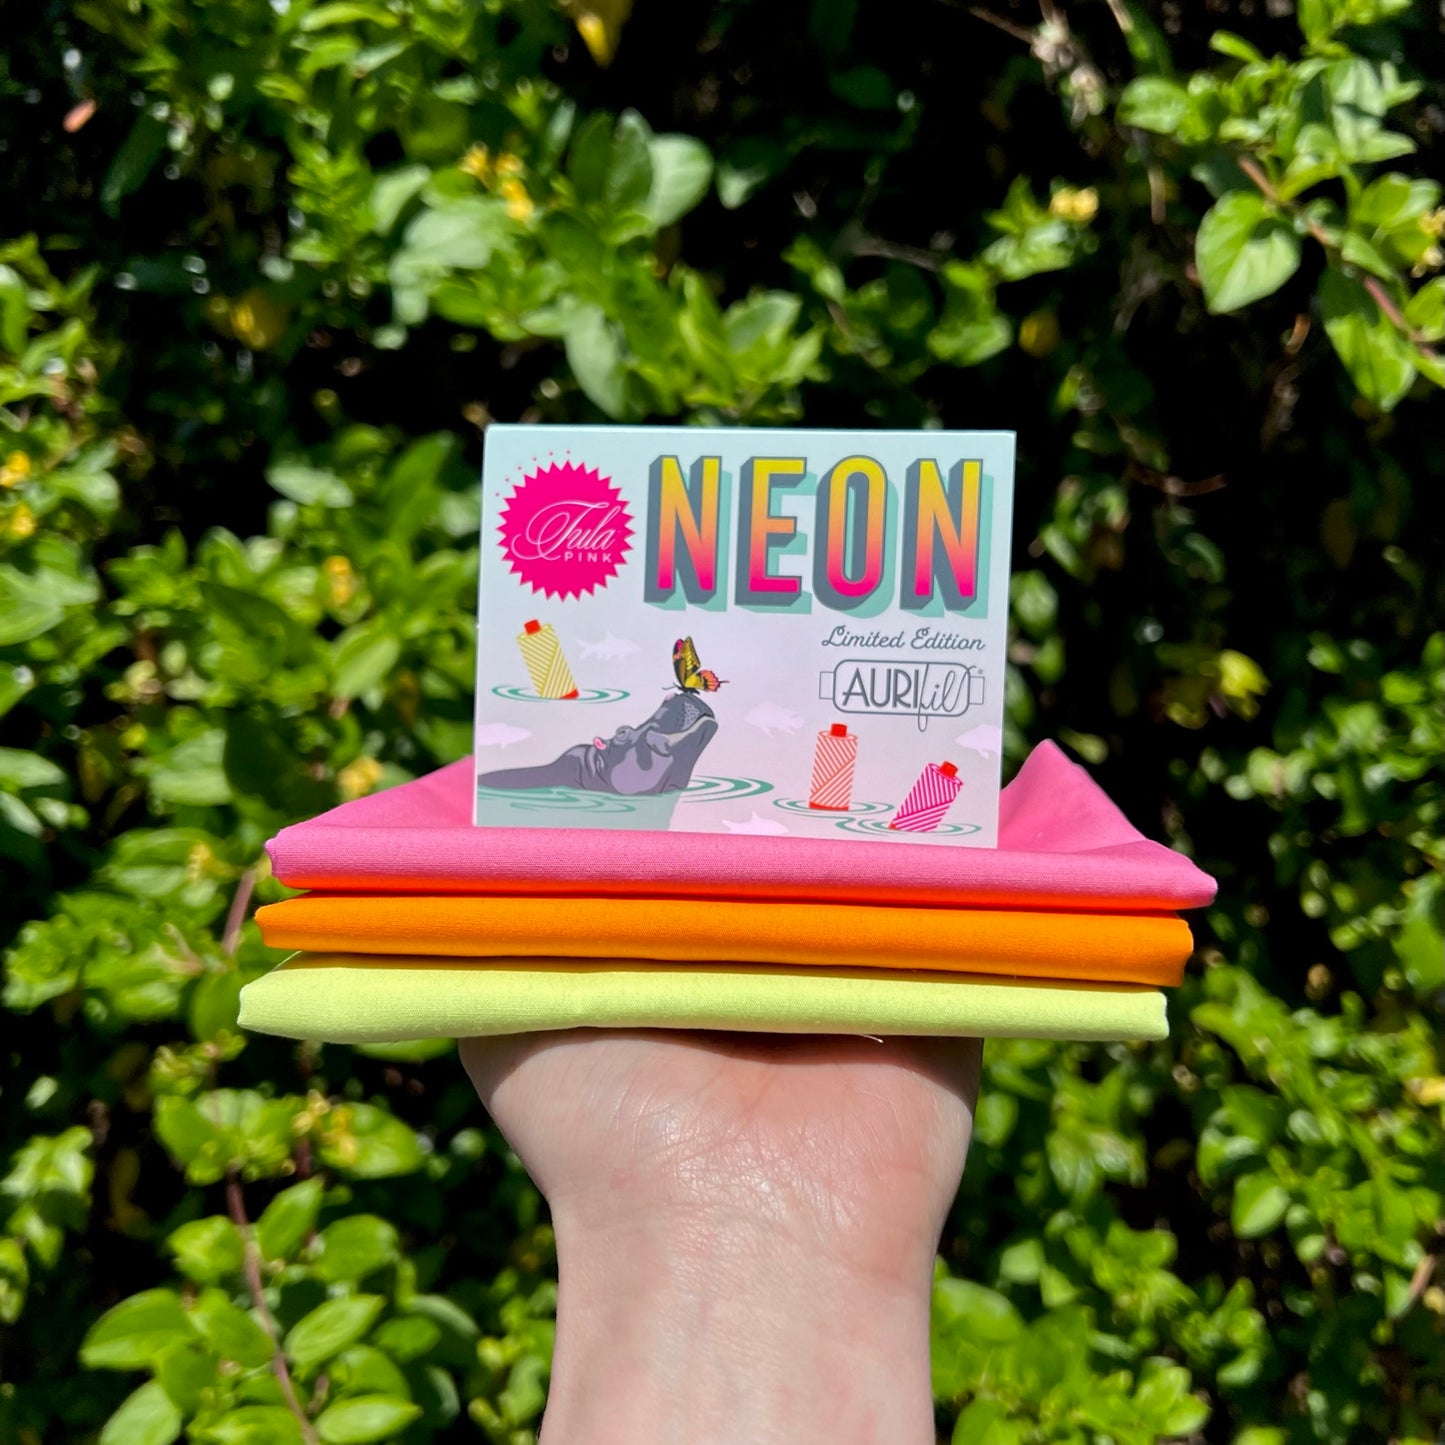
I used the Limited Edition Tula Pink Neons from Aurifil in 7000, 7001 and 7002 and quilted in a grid pattern for a graph paper vibe. To get the same ombre check effect quilt four straight lines in one colour, a half inch apart, then the next four lines in another colour, and then the next four in a third colour, and so on. When you have finished quilting in one direction, rotate your mini quilt ninety degrees and repeat.

Now you can trim down the excess batting and Fabric B to the same size as Fabric A (9.5'' x 15.5'' in my case).
Next fold your Fabric C squares in half along the diagonal and press well. Pin them to the corners of the Fabric B side of your cover - these will be the corner pockets inside of your notebook cover. You do;t want to quilt these as they will be too bulky ad your notebook won't close!
Now attach your binding in your preferred way being careful not to fold over your fabric pockets as you sew if you are machine stitching from the front. Join the two ends and hey presto, you are done!
If you wanted you could also add a little flap with a press stud, fabric ties or even loops for a tiny padlock to secure your notebook.
Now all you need to do is slip the pockets over the corners of your notebook and start filling it with your quilt ideas!


