

AGF PURE Solids shade card - find it here
WHY would you cut up your AGF PURE Solids colour card? It's soooo beautiful as it is? All those colours fading in and out of each other like a never-ending rainbow... WHY?
Because you'll find them so much more useful when they are cut up into individual chips. Soooo much easier to pop in your bag and whip out discreetly so you can match the fabric of your secret surprise gift to your friend's bedroom blinds... AND, most useful of all, you will be able to mix them up to compare and contrast with each other and fabrics from your stash. You really need to be able to put colours up next to each other to see how they interact.

So, if you're ready, I'll begin. here's what you'll need:
- a pair of scissors and/or a cutting mat and rotary blade - TIP use an old blade as the card will blunt it quickly!
- a ruler
- card stock at least 300gsm
- double sided sticky tape
- adhesive magnetic tape or paper
- a magnetic surface to keep your finished chips on. Anything will do, a magnetic whiteboard, even a fridge! I have some metal shelves left over from a bookcase that I'm using.
There are 120 swatches in the main card, plus another 15 if you also have the 2021 supplement (which you can get HERE and HERE respectively). Calculate the final size of your chips to work out how much magnetic paper and card to buy. You can even do a cutting plan if it helps! My finished chips will be 1 3/4'' x 2 1/4'' to fit the fabric plus extra for the label at the bottom.
Prep your card stock and magnetic paper first. This is the boring bit but it will pay off later. Stick a sheet of your card stock onto a piece of your magnetic paper and cut down into pieces at the final size of your chips. Don't worry if the card and magnetic paper are different sizes. It was very fiddly aligning the edges so in the end I stopped trying ans just trimmed straight after. I used a rotary cutter as I found it gave a more accurate cut but you might find scissors less tiring on the hands. You can make your chips just out of card if you like and leave it at that but I find it useful to be able to keep them on on the wall for easy reference.
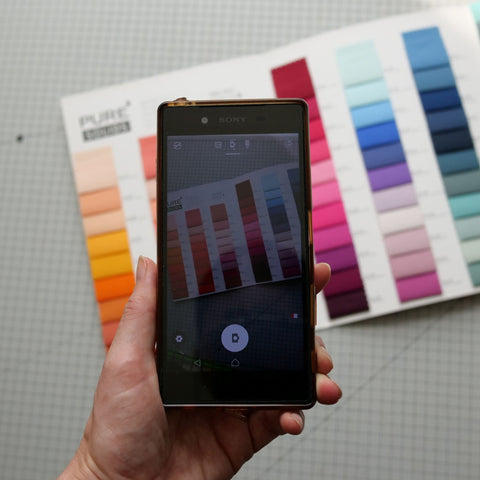
Now it gets more colourful but, BEFORE you start cutting up your colour card, take a photo of each page of the colour card to refer back to in case things get muddled!

It's easiest to work column by column and complete each step before moving on to the next one, unless your're super organised! Again, I used a rotary blade made as I found it made a cleaner cut than scissors.
Line up your ruler along the edge of the swatches and slice down the whole length of the card. Repeat for the other side (the first one is done for you) and also along the top of the first swatch.

Next, and this bit is trickier, you need to separate the individual swatches. Use a finger to fold back the first swatch and align your ruler along the top of the one below. Cut carefully between the two without cutting into the swatch above- or our finger! Repeat for all swatches in your strip.
TOP TIP - make sure you keep the swatches in the same order as they were on the card. You can always refer to the photo you took at the start if you get them jumbled up.

Now go play with them!
Not got your Art Gallery Fabrics PURE Solids colour card yet? Get your yours HERE

Want more quilting tips? Sign up to my newsletter and you'll be first to hear when the next blog post is up. Plus you'll get a FREE quilt pattern!