Wait, what? Paper Christmas decorations made from fabric? Well, which is it?
Don't worry, I'll get to that!
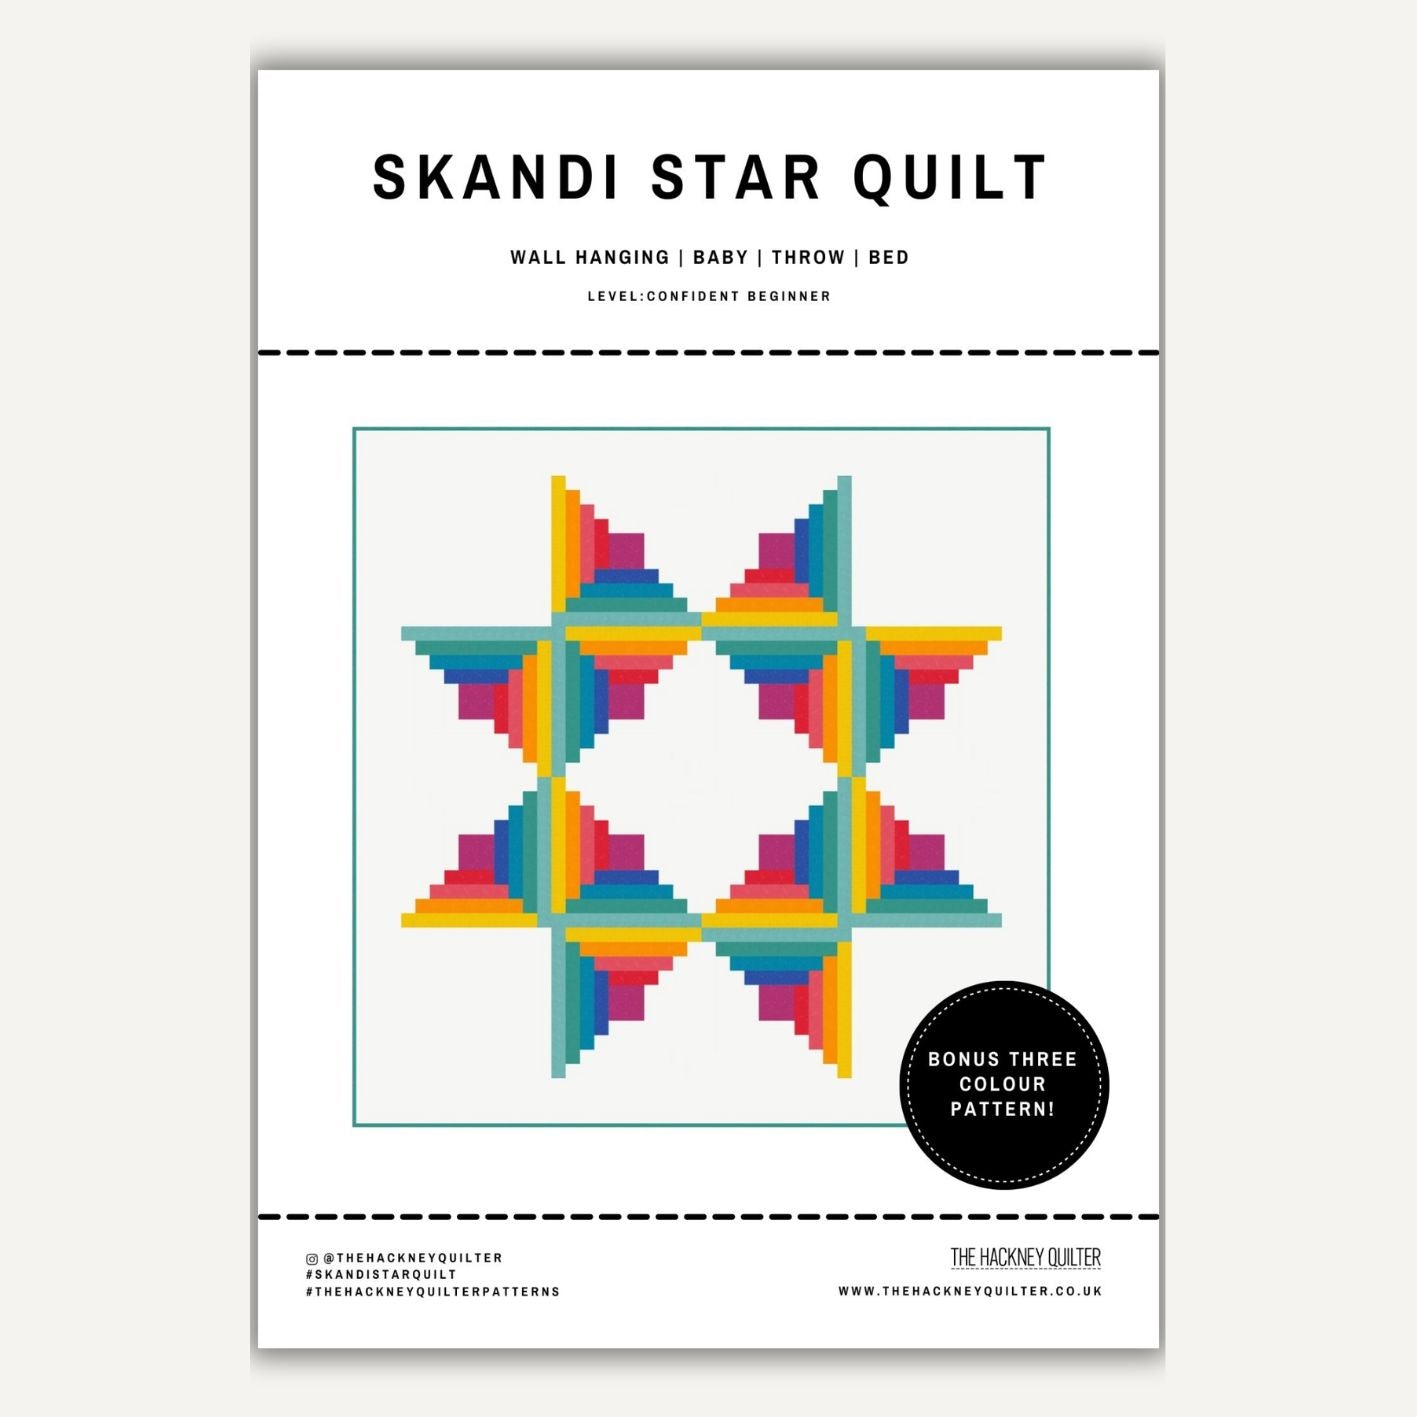
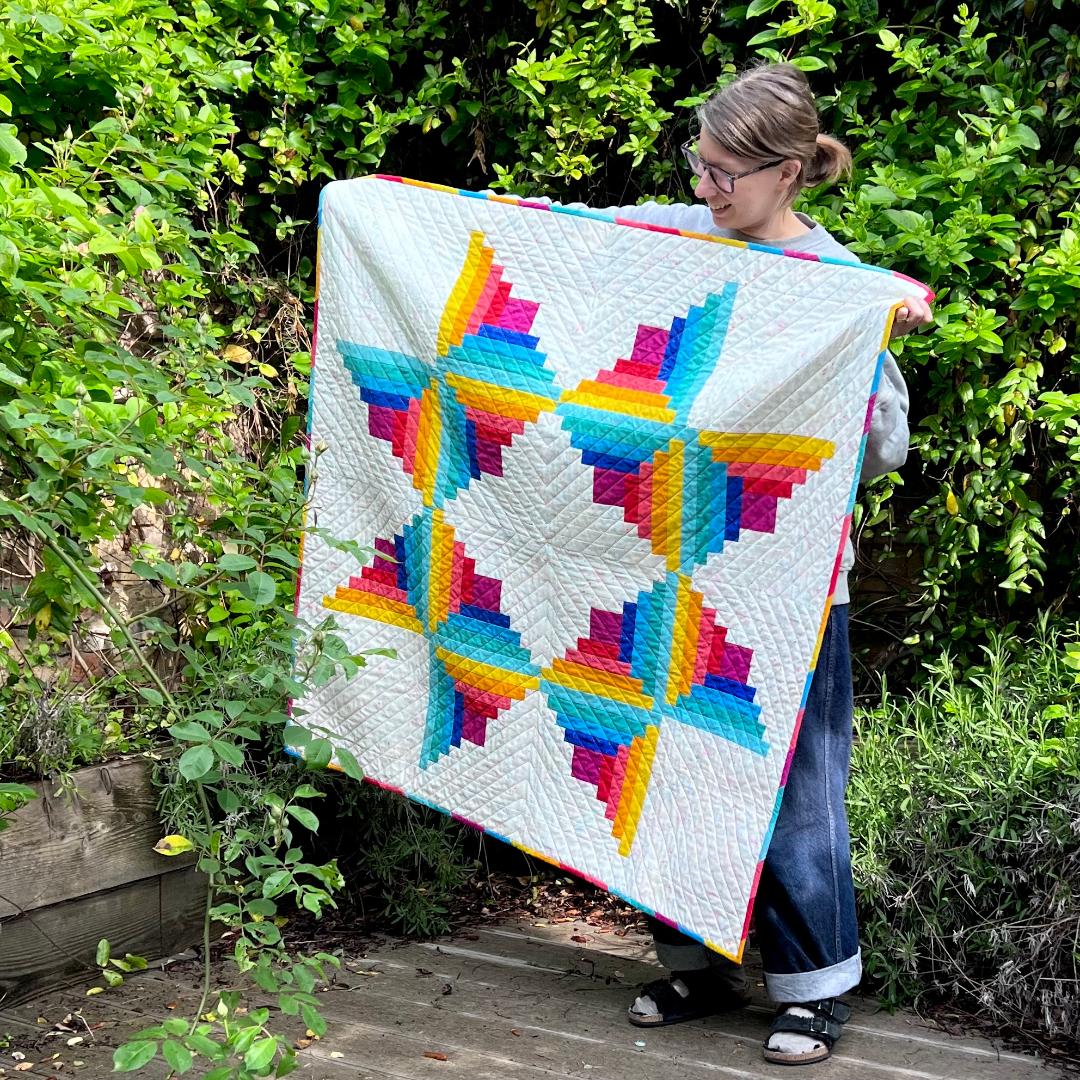
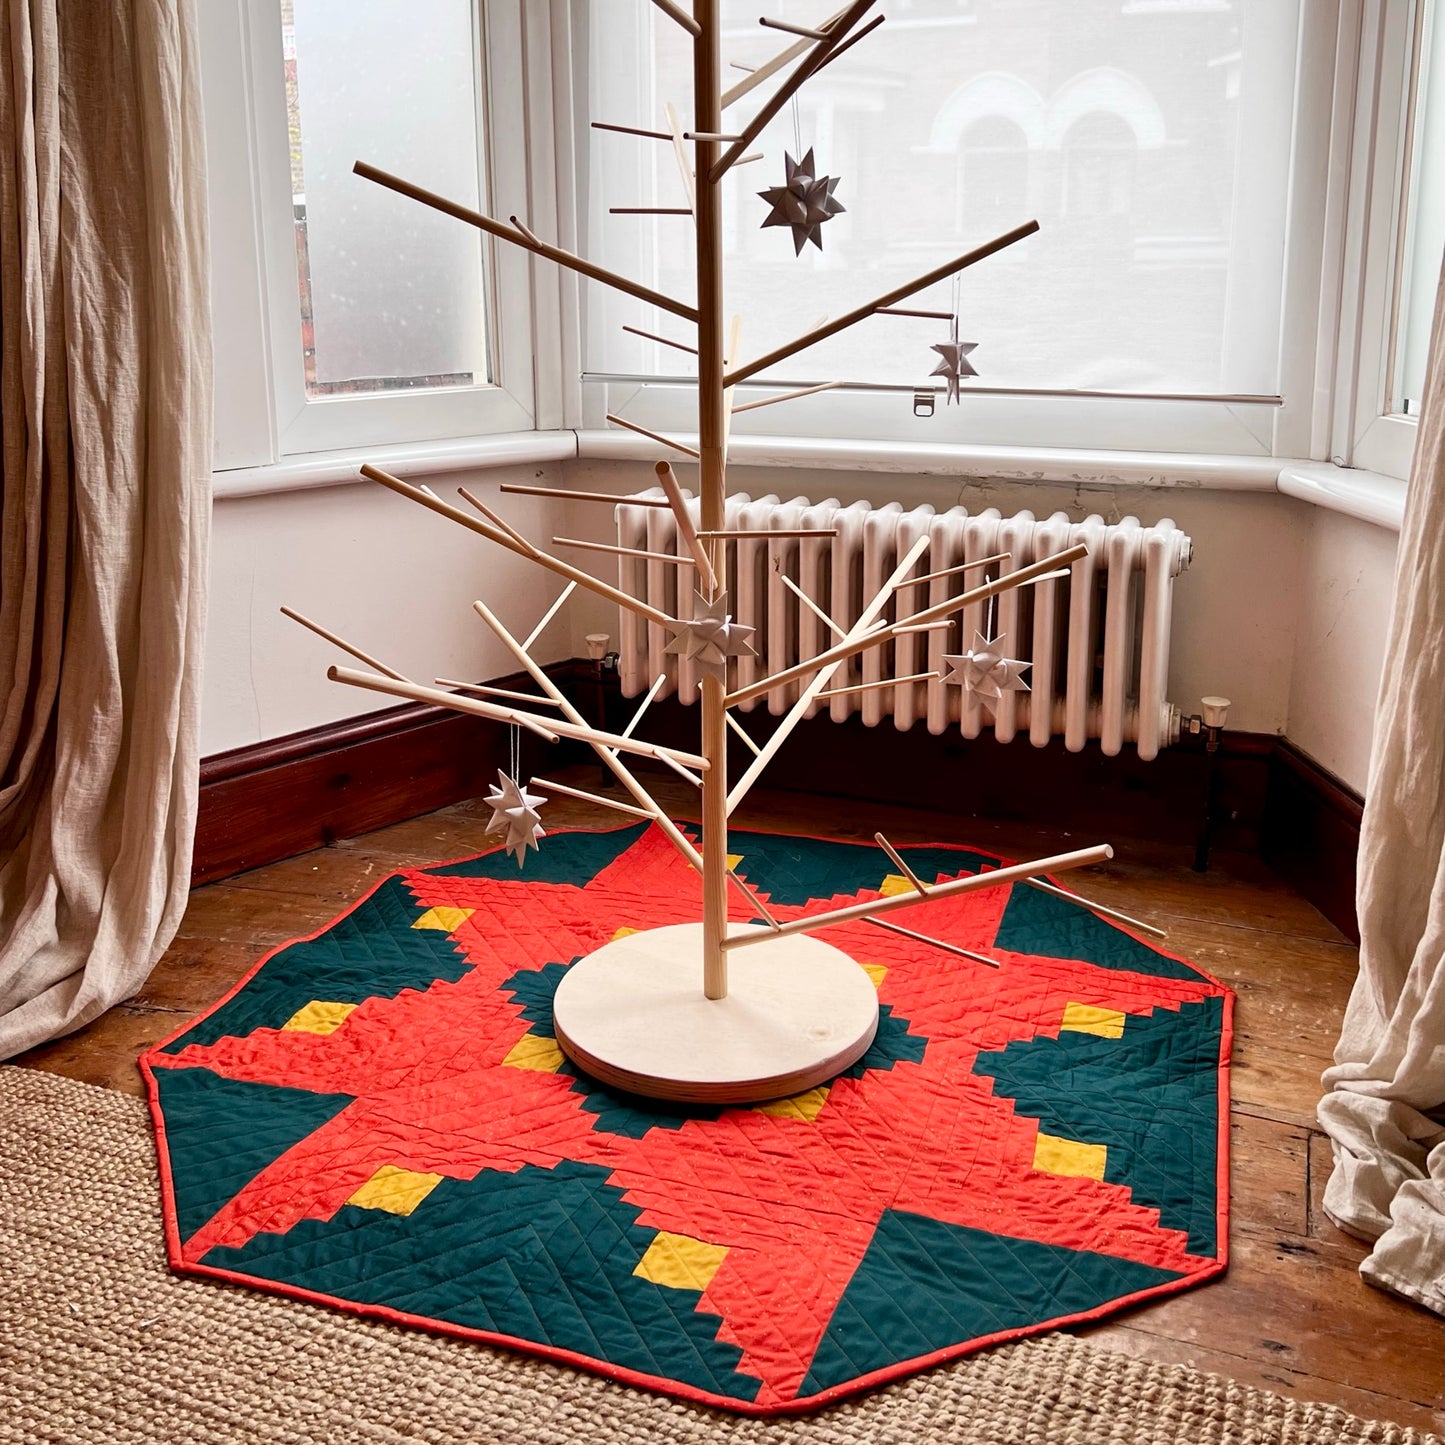
These lovely little paper stars are a Christmas craft tradition for me. My mum, who is Danish, taught me how to make them, and we'd make some every year. It's a little ritual I have continued for myself and my own family. They just symbolise Christmas for me and are what inspired the Skandi Star Quilt pattern!
I usually make my stars from white paper, or sometimes gold or silver, for a traditional or minimal look. But sometimes you just want all the festive fun and after the fabric star craze on Instagram last year I thought it would be fun to jazz them up a little by featuring my favourite holiday fabric collection from this year.
What I love about the paper stars is that they are lighter than the fabric version and won't weigh down your tree branches and they have twelve points to them, not just eight! There's also no pressing involved and you'll still have your favourite fabrics left to play with!
To make them you'll need:
A4 printer paper, rotary cutter and ruler plus a cutting mat, of course, scissors
Here's how to make them:
Download your favourite digital fabric swatches. You can use Adobe Illustrator, Word or any software that allows you to crop and scale images. I used Canva.
Play around with the scale and repeat until you get something you are happy with.
Print on both sides of the page - you can use a different pattern on the back if you like.

First, cut four 3/8ths inch strips from the long edge of your paper. Fold each of the in half length ways.
I used Jolly Darlings from Ruby Star Society which you can download here
Centre square:


Working clockwise, weave your stars together to form a locked square. Take one of the top strips and bend it back on itself towards the middle.
Repeat with the other top strips, this time working anti-clockwise. Weave the fourth strip under your first strip to form another locked square.
Sawtooth star points:


Fold the top right strip behind itself at a 45 degree angle to form a small sawtooth triangle.
Next fold the strip forwards at a 45 degree angle to make a larger triangle.
Fold this triangle in half so that the strip is still on the top of your locked square. Weave the strip inside the locked square so that it comes out at the centre of the square.


Rotate the star and repeat these steps for the remaining right hand strips.
Then flip over the star and repeat with the last four strips.
Centre star cone shaped points:


Take the right hand downward pointing strip and curve it round so that you can tuck it into the top left hand part of the locked square. Note - the top of your strip must still be facing upwards as you do this. Push it through so that the strip pokes out of the top left hand sawtooth star.
(It can help to fold the ends of your strips into points if you have trouble weaving in your strips.)
Rotate and repeat with the other strips. Then flip over your star and repeat on the other side.

Snip off the tails of your strips flush with your sawtooth stars. Use a needle and thread to add a little hanging string and pop it on your Christmas tree!
These instructions make small stars measuring approx 2 inches. For larger stars you will need to cut wider and longer strips of paper.
Why not make a Skandi Star Quilt to match?